
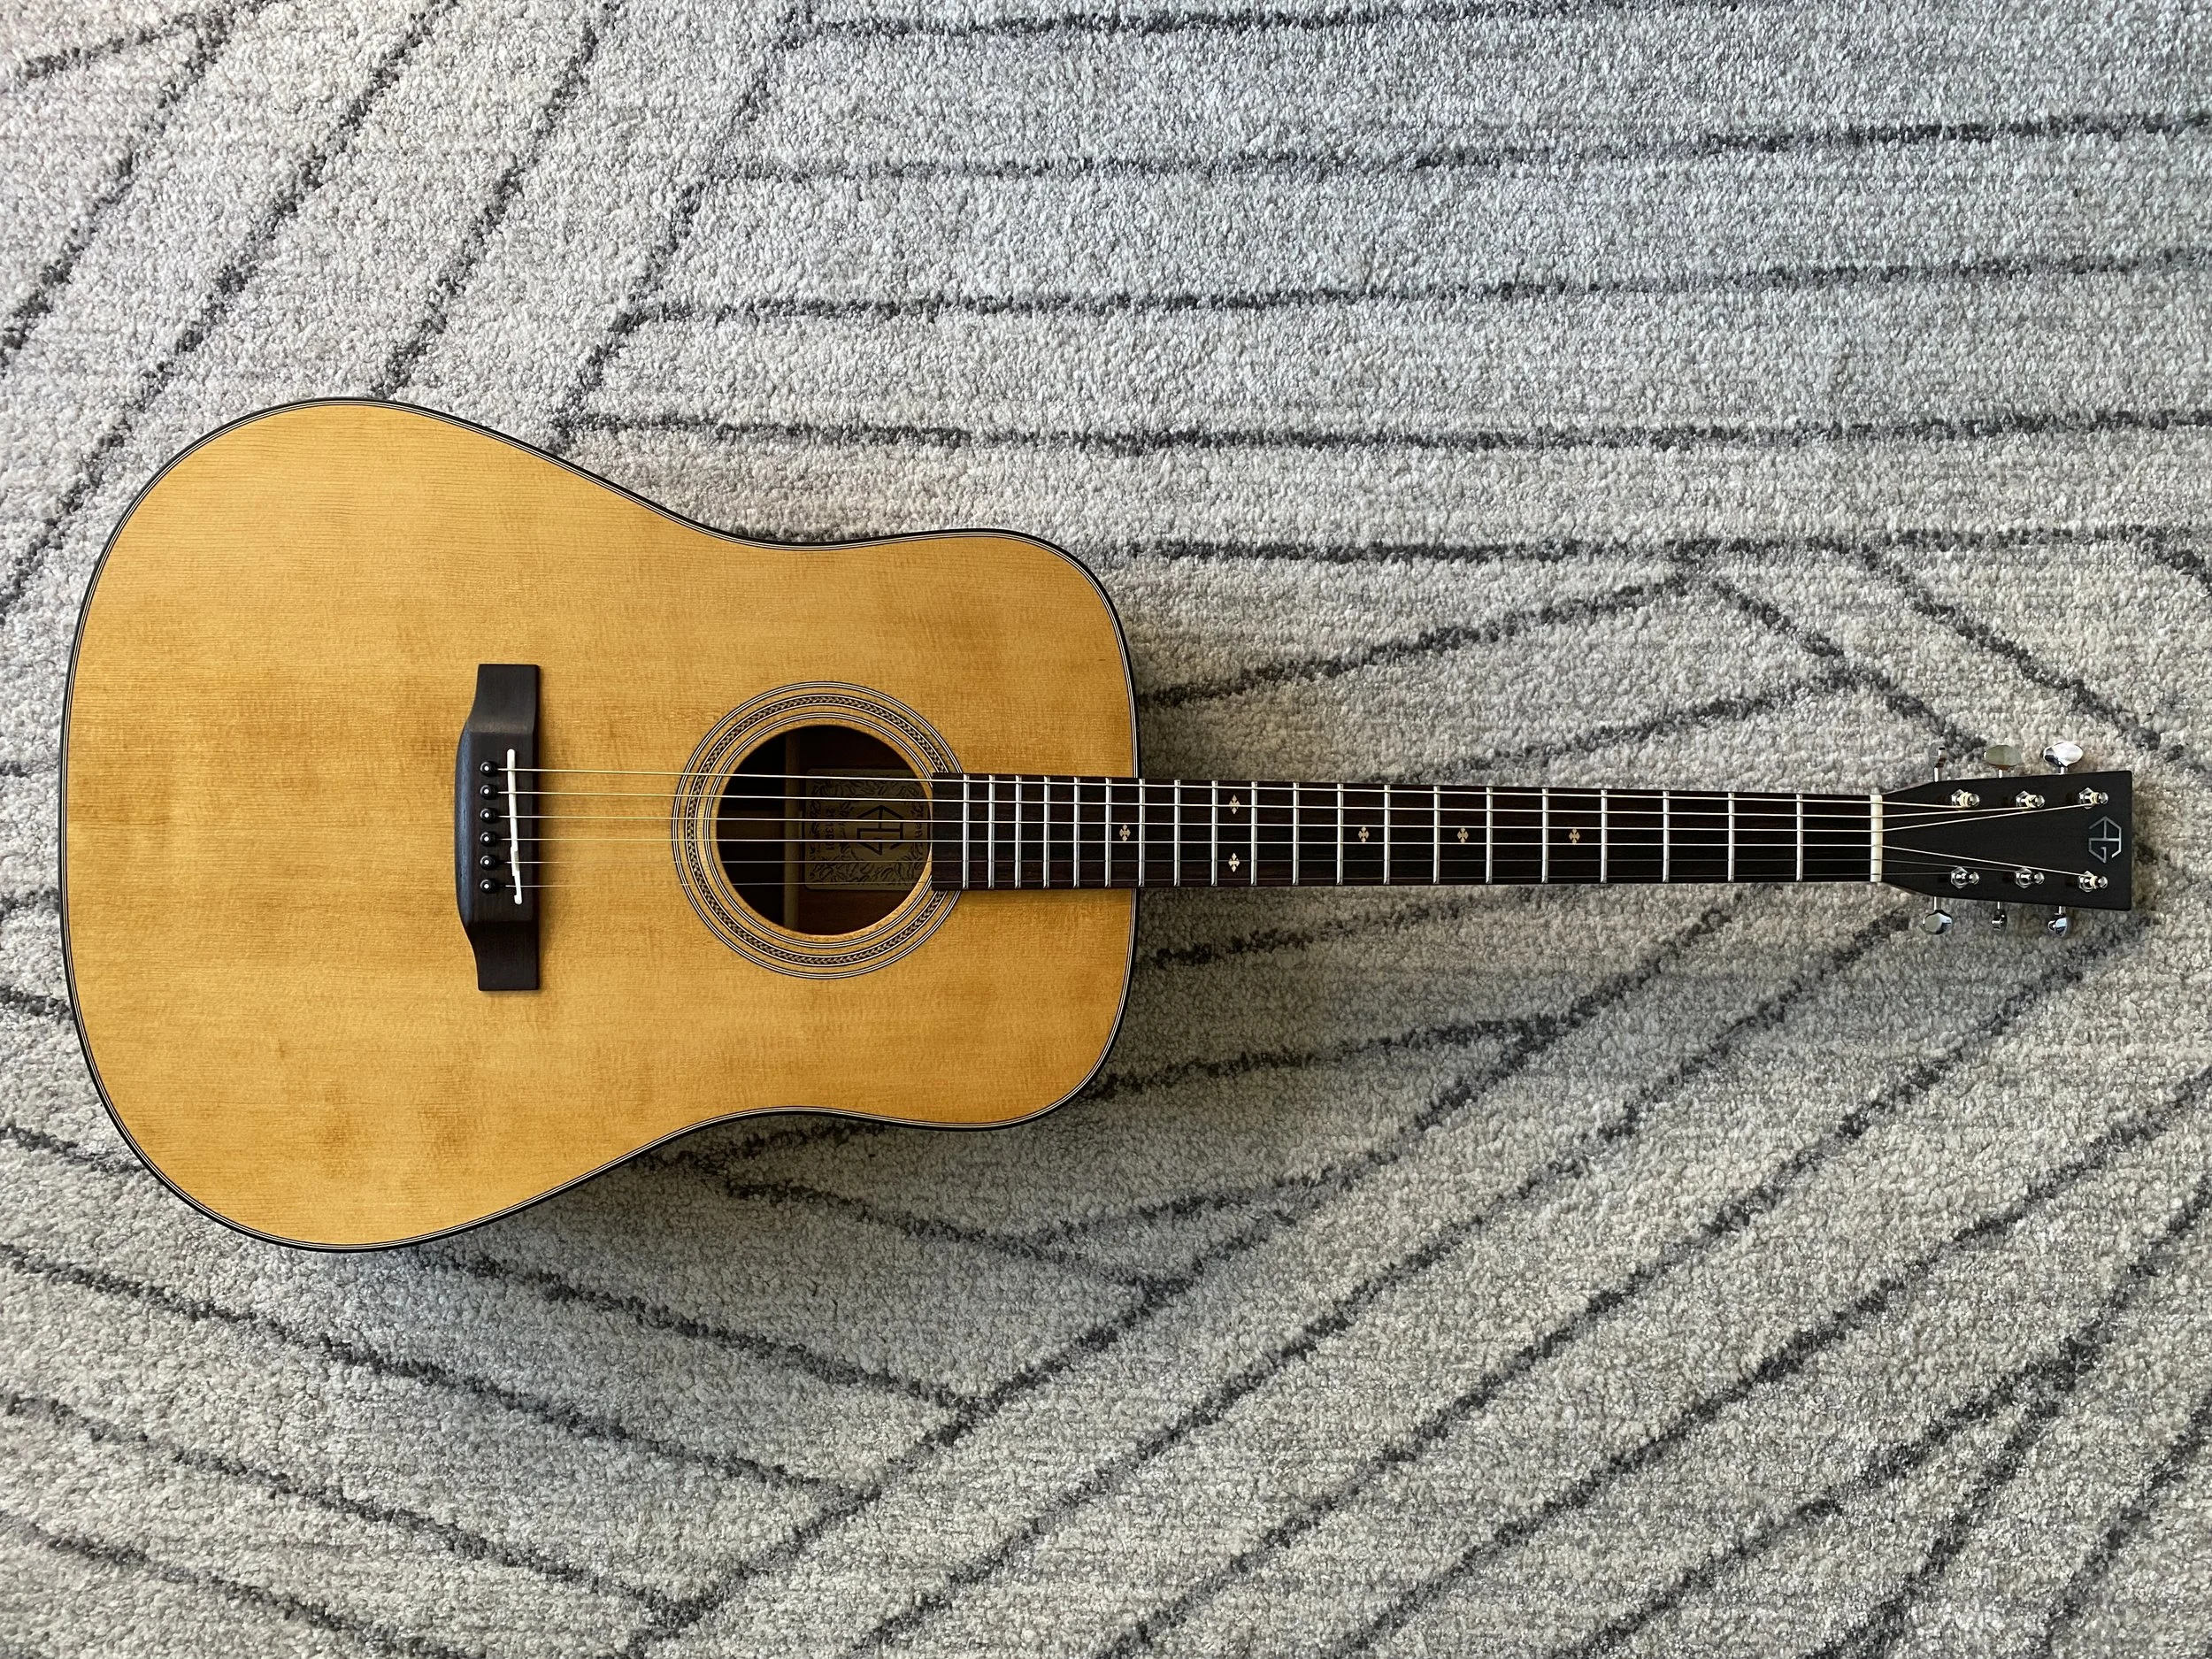
StewMac Acoustic Kit
A few years back, I purchased this Martin-style acoustic kit from StewMac as a Christmas present for my father. I wanted a fun project for us to work on together during the winter months. Well…. Time got away from us and two years later it is finally finished! Let’s go through some highlights of the build process.
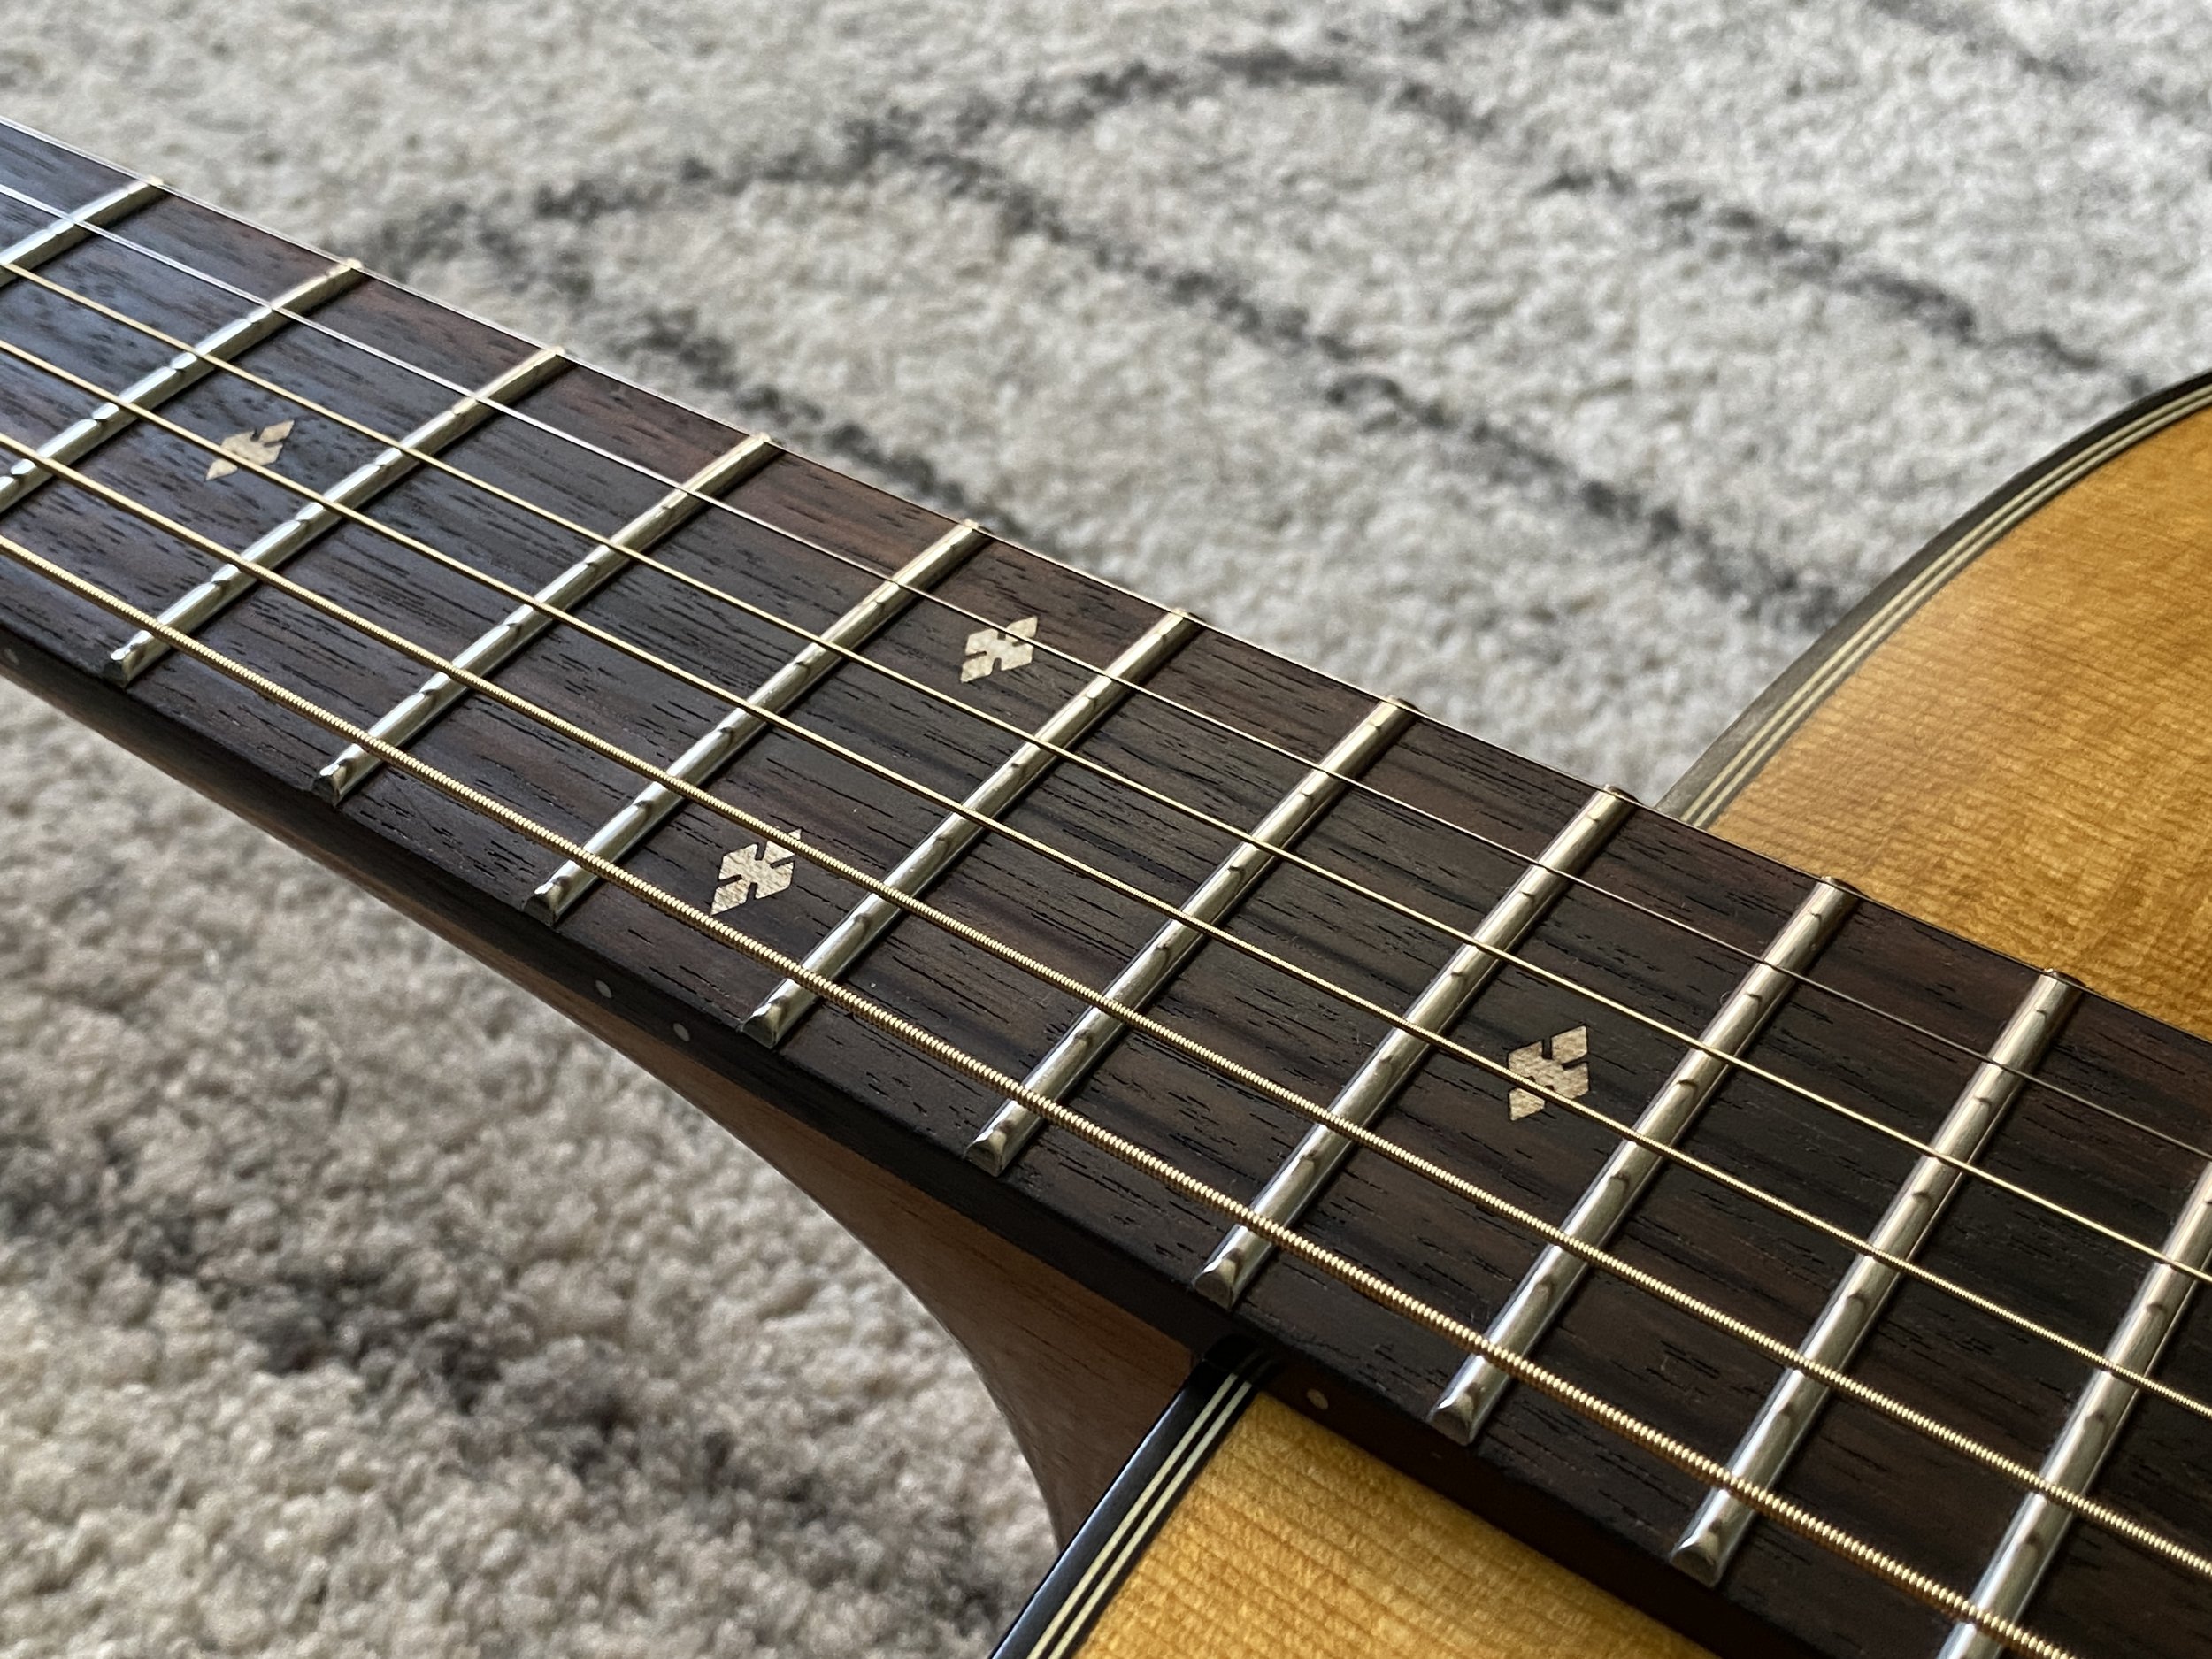
The kit contains all components needed to build a Martin-esc acoustic (aside from the tuners). Most of the body is done, but the neck requires some serious work! We leveled the fretboard, fretted the neck, and then prepped for the glue-up by installing some alignment pins.
We glued the fretboard onto the neck with Titebond Original Wood Glue. To hold the fretboard tight against the neck, we wrapped a few surgical tubes around them both to hold it tight. It worked great!
Before we shaped the neck, we decided to put a bevel on the frets. We used stainless steel frets for this build, so all of the fretwork takes a bit more time than usual. I like to use Summit Teflon tape adhesive strips to make the bevel file glide across the frets with ease. It also protects the fret tops from shavings as well.
Up next is carving the neck profile! This is always my favorite part of the building process. We researched some dimensions and went to carving with my trusty Shinto Saw Rasp. In the end, we just went by feel. Look at the master in action!
We used an assortment of small files and sanding blocks to get the volute just right. We wanted something a little slimmer and rounder than a regular Martin style volute.
After finishing the neck shaping, we moved on to the headstock inlay. We used my Shapeoko CNC machine to cut out an Augment Guitars logo out of Mother of Pearl. We then inset it into a piece of ebony. Having a CNC machine is great for inlays, which is one of the main reasons why I bought it!
We mapped out the placement of the inlay, routed it out, and glued it in with some more Titebond wood glue. Looks sharp!
Since the neck was almost completed, it was time to fit the neck to the body and mark the bridge location. Out of the box, the neck fit was pretty spot on. It only took about 15 mins of sandpaper pulls to get the angle and fit just right. After nailing the neck fit, we found the bridge location, marked it, and then added a few aligning dowels to the low and high E strings. This is a great way to ensure you place the bridge at the exact location after finish is applied.
The last finishing touch was to add a serial number stamp to the back of the headstock. We did this with a letter punch set and some careful aligning.
Now on to the finish! We first sealed the grain with some shellac. We decided not to fill the grain as we liked the look after applying finish to some test pieces. For the topcoats, we used Sutherland Welles Murdoch's Uralkyd 500 floor finish in the satin sheen. This finish goes on easy, builds well, and offers some nice protection. I also used it on the parlor acoustic I finished sometime last year. I applied around 8-10 coats and sanded every 2-3 coats with yellow Super Assilex sanding sheets. This produced a smooth and great looking satin finish.
After the finish cured, it was time to glue on the bridge and neck. We removed the tape and cleaned up any excess finish on both glue surfaces. I then cleaned all surfaces with naphtha to ensure no grease, adhesive, or contaminates were left. We then glued on the neck and bridge once again using Titebond original and various clamps. As the glue was setting, I cleaned up any squeeze-out with a damp paper towel.
We didn’t capture any pictures of the next few steps (time got away from us)… but we also did:
Fret level, crown, and polish.
Installed the Schaller GrandTune® tuning machines.
Installed and fine-tuned the nut.
Installed and fine-tuned the saddle.
Complete setup.
This build is special to both of us, but specifically me. My dad is the reason I started playing guitar and has supported me with both my musical and lutherie endeavors since the beginning. I am happy we could experience this build together. Thanks for stopping by.


Hear How it Sounds!
Song: Interstate Love Song
Artist: Stone Temple Pilots